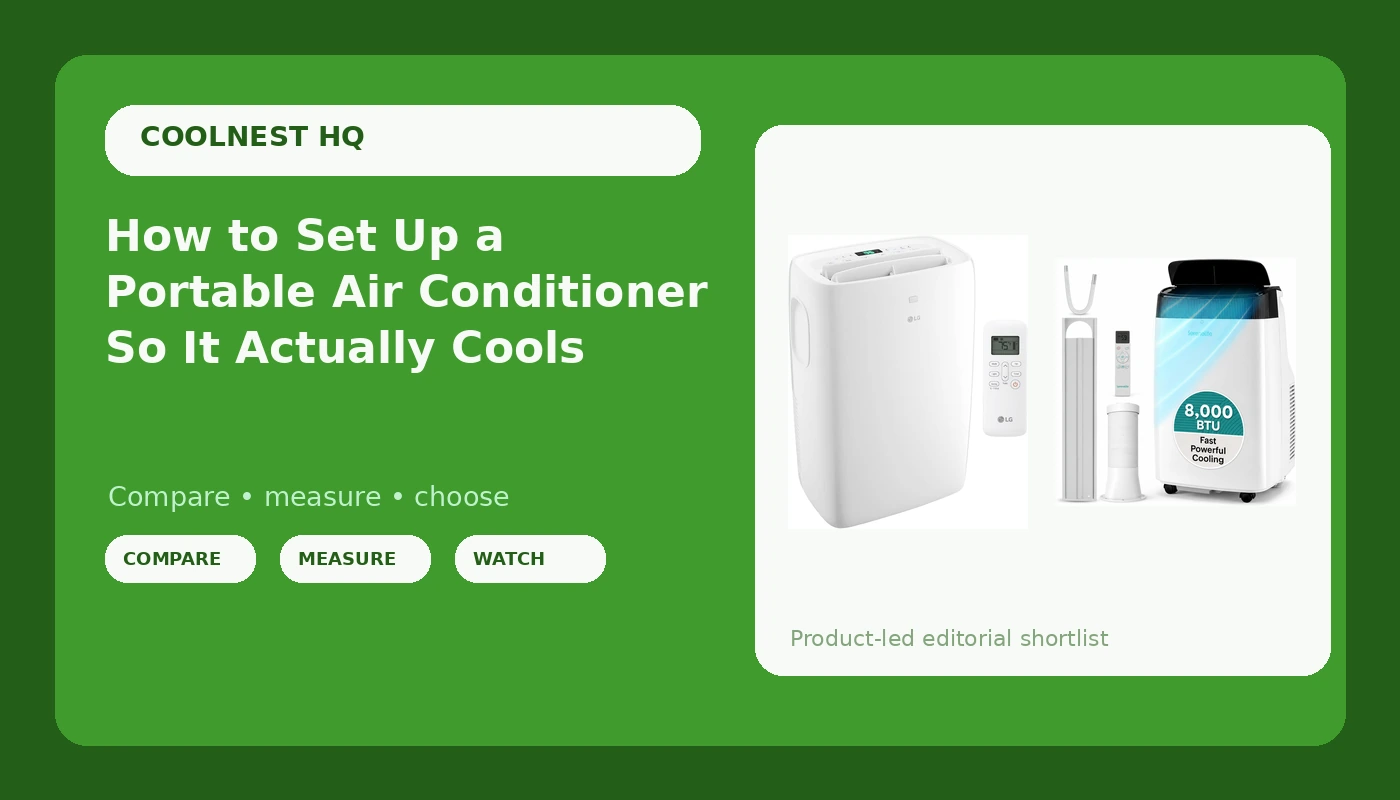
Most portable air conditioners do not fail because they are weak. They fail because of the install. A portable air conditioner setup that holds a bedroom at 72 degrees in Phoenix in August comes down to four decisions: where the unit sits, how the window kit is sealed, how the condensate gets out, and where the thermostat thinks the room is. Get those four right and a modest unit will out-cool a bigger one that was dropped in front of an open slider.
I have been an HVAC tech for 18 years, licensed in three states, and I have serviced everything from window units to commercial chillers. Nearly every portable AC complaint I hear is not a compressor failure. It is a hose problem, a seal problem, or a drain problem. The box says 8,000 BTU. The room says otherwise. The distance between those two numbers is almost always the setup, not the machine.
Here is the order to do it in, plus the two units I would build a small-room setup around.
Why you should trust me
I started recommending portables during a heat wave when central systems were dying and landlords were taking two weeks to answer the phone. In that stretch I learned fast that a portable is only as good as its exhaust path. I have watched a "12,000 BTU" box fail to cool 200 square feet, and I have watched a 6,000 BTU unit hold a bedroom once the window panel was sealed and the hose was wrapped. Same refrigerant, same compressor design, different install.
I live in Phoenix, which is a useful place to be wrong about cooling. When it is 115 outside, a portable has no margin. Every leak in the window panel shows up in the room temperature within an hour. That is the environment I judge these things in, and it is why I care more about the drain and the seal than I care about the sticker on the box.
How I judge a portable AC setup
Four things decide whether a portable works, and none of them are the marketing BTU.
The real cooling number. Since the 2020 DOE standard, portables carry a SACC rating, which is the tested cooling capacity after you account for the heat the machine itself adds back into the room. It is almost always lower than the big number on the front of the box. Find the SACC figure and size the unit to that, not to the sticker. A unit rated for a room that is 25 percent smaller than yours will run constantly and never catch up.
The hose configuration. A dual hose unit pulls outside air in through one hose and pushes hot air out through the other, so it never depressurizes the room. A single hose unit pushes air out and pulls replacement air in through every gap in the house, including the door you just closed. If you end up with a single hose unit, the install has to be tighter to compensate. That is not a reason to skip the unit. It is a reason to buy foam board and foil tape.
The condensate plan. A portable pulls pints of water out of the air every day. Some of it re-evaporates off the condenser coil and goes out the exhaust. The rest lands in a tank or a drain pan. If the tank fills every four hours, you have bought a job, not an appliance. Decide before you plug in whether you are doing a gravity drain, a condensate pump, or a manual empty twice a day.
The noise, measured against sleep. A bedroom unit has to be quiet enough that you actually sleep. Compressor noise is the thing that matters, and it is not the same as fan noise. Fan noise is a whoosh you can tune out. Compressor noise is a rattle you cannot. If you can, listen to the unit running before you commit to sleeping next to it.
Two units worth building a setup around
These are the two I would start with for a bedroom or a small living space, one on the low end of the capacity range and one a step up. Both are portable, both dehumidify, and both need the same install discipline described below.
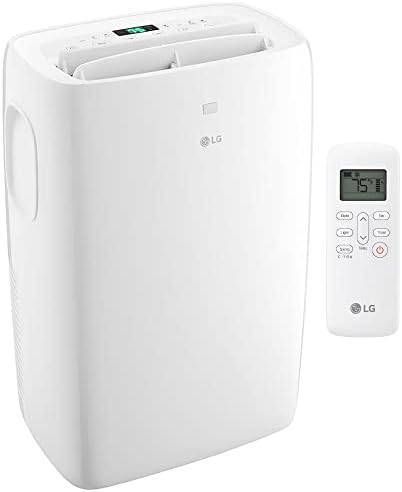
Budget pick: LG LP0621WSR 6,000 BTU Portable Air Conditioner and Dehumidifer - (Renewed)
 Visit on Amazon →
The LG LP0621WSR is a 6,000 BTU class portable with a dehumidifier mode, and the renewed listing is the reason it lands here. A 6,000 BTU portable is a bedroom machine, not a whole-floor machine. Point it at a single room with the door closed and a sealed window panel, and it will do the job it was built for. Point it at an open-plan living room and it will run all day and lose.
The dehumidifier mode is the part people overlook. In a monsoon climate the humidity is what makes 85 degrees feel unbearable, and pulling water out of the air does as much for comfort as dropping the temperature a few degrees. Check current Amazon price, and read the listing carefully on the renewed condition: renewed units can carry different warranty terms than new stock, and the accessories included in the box can vary. Confirm the window kit is in the box before you plan the install around it.
Flaws but not dealbreakers: 6,000 BTU is a small room rating. If your space is over roughly 250 square feet with western sun, step up. And a renewed unit is a renewed unit. Test it on arrival, check the drain port for cracks, and run it for an hour before the return window closes.
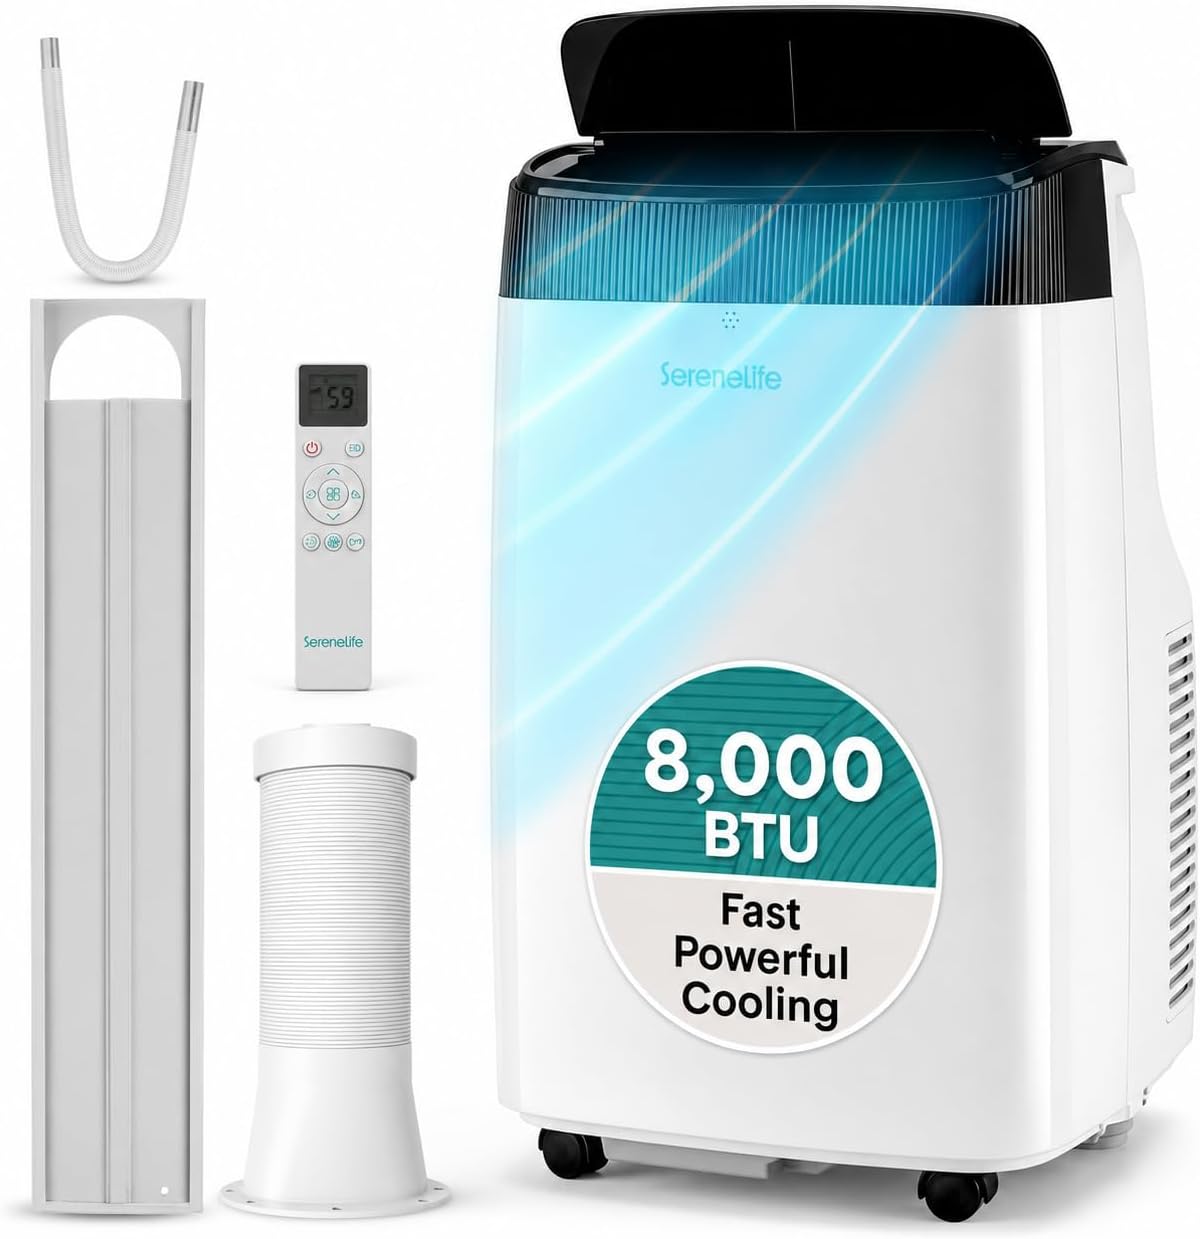
The higher-capacity pick: SereneLife Portable Air Conditioner, Dehumidifier & Fan | Dual Motor 3-in-1 8,000 BTU AC with 64°F, 90°F Temperature Range, Cools Up to 350 Sq Ft, 3 Fan Speeds, Remote Control & Window Kit, White
 Visit on Amazon →
The SereneLife is an 8,000 BTU class 3-in-1: cooling, dehumidifying, and fan only, with three fan speeds, an adjustable thermostat range of 64°F to 90°F, a remote, and a window kit in the box. The listed coverage is up to 350 square feet, which in a real bedroom with a door closed is a comfortable target and in a sunny open room is optimistic. Treat the coverage number the same way you treat the BTU number: as a ceiling, not a promise.
The fan-only mode is underrated. On a night when the outside air drops into the seventies, running the fan without the compressor moves air across you and costs a fraction of the energy. Check current Amazon price. The remote is a convenience, not a control system, so plan on setting the unit up where you can also reach the panel with your hand. If the remote needs a clean line of sight to the unit, a corner placement will fight you.
Flaws but not dealbreakers: An 8,000 BTU portable is still a single-room appliance. It will not cool a hallway, a kitchen, and a bedroom at the same time. And like every portable in this class, the exhaust hose runs warm, so it needs insulation and a short, straight path to the window.
The setup, step by step
Step one: measure the room before you unbox. Square footage, ceiling height, how much glass faces west or south, and how many people sleep in it. Then look up the SACC rating on the unit you bought and compare it to that room. If the SACC number covers less space than you have, no amount of clever installation will close the gap. Move the unit to a smaller room instead.
Step two: pick the window before you pick the corner. The exhaust has to go outside, not into a hallway, a garage, or the next room. A sliding glass door works with a kit made for a slider. A casement window usually does not work with the standard panel, so check that before you commit. The shortest, straightest hose run you can manage is the one that performs best.
Step three: seal the window panel like you mean it. This is where most setups fail. The foam insert that ships in the kit leaves gaps at the edges, and every gap is hot outside air coming in. Cut rigid foam board to fill the opening around the panel, seal the seams with foil tape, and brace the sliding sash so it cannot move. On a hot day you should not be able to feel any draft around the panel with your hand.
Step four: insulate the exhaust hose. A bare exhaust hose is a radiator that dumps heat back into the room you are trying to cool. Wrap it in an insulated sleeve. If the unit is single hose, this matters even more, because the machine is also pulling conditioned air out of the room to replace what it exhausts. Keep the hose run short, keep it off the floor, and do not coil the slack behind the unit.
Step five: sort the drain before the tank fills. If the unit has a gravity drain port, run a hose from that port to a point lower than the port, ideally through a wall or into a floor drain. If it does not, plan on checking the tank on a schedule, and know that monsoon humidity fills a tank much faster than dry heat does. If you are emptying a bucket every four hours, the setup is wrong.
Step six: shut the room down. Close the door. Close the other windows. Turn off the bathroom fan and the kitchen exhaust. Every cubic foot of air the unit pushes out the window gets replaced by air coming in from somewhere, and if that somewhere is a 115-degree attic or a hot hallway, you are heating the room while you cool it.
Step seven: set the thermostat and the fan correctly. The thermostat on a portable reads the air at the unit's own intake, so it is measuring a spot, not the room. Keep the unit away from direct sun and away from the cold air it is blowing out, or it will short-cycle and never finish the job. Set the fan high until the room comes down, then drop it to low or auto. Setting the temperature to 60 does not cool the room faster than setting it to 74. It just makes the compressor run longer and the room feel the same.
Step eight: give it time, then leave it alone. Expect a real drop within the first 30 to 60 minutes in a sealed room. Every time you open the door, you reset the clock. Rinse the filter every two weeks, more often if you have pets or dust, because a clogged filter is the single most common reason a portable "stops cooling" after a month of good service.
The mistakes that undo a good setup
Venting into another interior room is the worst one. The unit will run forever, the room it vents into will get hot, and the room you care about will not cool. Exhaust goes outside, always.
The second mistake is buying capacity for the whole house. A portable is a room machine. If you want to cool three rooms, you need three units or a central system, not one bigger portable with the doors open.
The third is ignoring the drain. A tank that overflows on a carpet is a much worse day than a hose run through a wall.
The fourth is trusting the box number. If the SACC rating does not cover your square footage, the install cannot save it, and the marketing BTU cannot either.
What this all costs
The two units here sit at different points on the capacity scale, so the honest answer is that cost tracks how much room you need to cool. Check current Amazon price on both before you decide, because the renewed listing and the new listing move independently.
The accessories are where people under-spend. Foam board, foil tape, and an insulated hose sleeve are the difference between a portable that works and a portable that runs all night. A condensate hose is cheap and saves you a daily chore. None of that is glamorous, and all of it is doing more work than the BTU rating on the front of the box.
Do the measuring first, seal the window properly, wrap the hose, plan the drain, and set the thermostat to a number a human can live in. That is the whole job, and it takes an afternoon. The unit was built to cool a room. The setup is what lets it.