Most people who buy a portable AC are disappointed, and it is almost never the machine's fault. It is the portable AC setup. A single-hose unit pumping hot exhaust into the same room it is trying to cool, a window kit with a two-inch gap around the panel, a condensate bucket you forget about until the unit shuts off at 1 a.m. Fix the setup and an average unit outperforms a great one that was installed badly.
I have been an HVAC tech for 18 years and I am licensed in three states. I live in Phoenix, where a July afternoon is a 115-degree stress test for anything with a compressor in it. I have watched a lot of boxes labeled "12,000 BTU" fail to hold a 200-square-foot bedroom at 75 degrees, and I have watched cheaper units hold the same room because somebody took 40 minutes to seal a window properly.
This is the order that matters. Hose first, seal second, drain third, room size fourth. Get those four right and you will be comfortable. Skip one and you have bought a fan with a hose.
Why you should trust me
I started on window units and residential splits, moved into light commercial, and spent a stretch servicing chillers. Along the way I picked up the habit that matters most here: I do not trust a spec sheet, I trust a thermometer and a watt meter. The DOE changed how portable cooling is rated in 2020 with the SACC standard, and that change is the single most useful thing a shopper can learn, because it cut the marketing BTU numbers roughly in half. A unit advertised at 14,000 BTU that carries a 10,000 BTU SACC rating is not lying. It is just telling you two different numbers, and only one of them describes cooling delivered to a room.
I also own two portables for my own rental because the windows are casement and a window unit will not fit. So I am not here to tell you portables are junk. I am here to tell you they are unforgiving.
How I judge a portable AC before I recommend it
Four questions, in this order.
One: what is the SACC rating, not the sticker? If a listing only shouts the bigger number and buries the SACC figure, that tells me something about the seller.
Two: single hose or dual hose? Dual hose is the only design that does not fight itself. A single-hose unit pulls conditioned air out of the room to cool its own condenser and dumps it outside, which means you are paying to air-condition the alley. For a small room and a small unit, single hose is survivable. For anything above 10,000 BTU, single hose is a design flaw you are paying for.
Three: how does it handle condensate? A unit with no gravity drain port, no pump, and no self-evaporating design means you are carrying a bucket. That is not a cooling problem, it is a lifestyle problem, and it decides whether you actually use the thing in August.
Four: would I sleep in the room with it running? Noise is a spec. A bedroom unit that sounds like a jet engine is a failed product no matter what the thermometer says.
If your room is under 300 square feet and you have a double-hung window, stop reading and buy a window unit. It will beat any portable at the same price. Portables exist for the rooms where a window unit cannot go: casement windows, sliding doors, rentals with rules, garages, and rooms where the window faces the street.
What you need before you start
Gather this before the box is open, because half of it is not in the box.
- The window kit that came with the unit, plus a roll of foil HVAC tape
- A sheet of rigid foam board and a utility knife, for windows the kit does not fit
- A level, or a phone with a level app
- A drain hose if your unit supports gravity drain, and a shallow pan or bucket
- A tape measure, to confirm the room's square footage and the window's opening height
The four decisions that make or break the setup
Single hose or dual hose
If you already own a single-hose unit, you can still make it work. Keep it in a room under 200 square feet, seal the window kit obsessively, and accept that it will pull a little conditioned air out of the room every minute it runs. If you are buying new and the room is larger than a bedroom, buy dual hose. This is the one place where I will not compromise.
The window seal
This is where most setups fail. The exhaust has to leave, and nothing else should come back in. If the panel rocks in the frame or you can see daylight around it, cut foam board to fill the gap and tape the seams with foil tape, not painter's tape. A wobbly kit is also a security problem and, on a second floor, a wind problem.
The drain
Decide now where the water goes. Gravity drain means a hose running downhill to a floor drain, a slop sink, or a bucket you actually remember to empty. If the unit has a condensate pump, route the line somewhere it can climb. In a humid climate, a portable can pull gallons a day out of the air. In Phoenix it is less, but the unit will still shut itself off on a full tank, usually at the worst possible hour.
The size of the room
Measure the room and close the doors to the rest of the house. A portable AC cools one room. If the hallway is open and the kitchen is on the other side of it, you are cooling the house with a machine built for a bedroom, and you will be disappointed. Close the door, close the blinds on the sunny side, and give the unit a room it can actually win.
The units I would point you at
Two very different jobs, two very different machines.
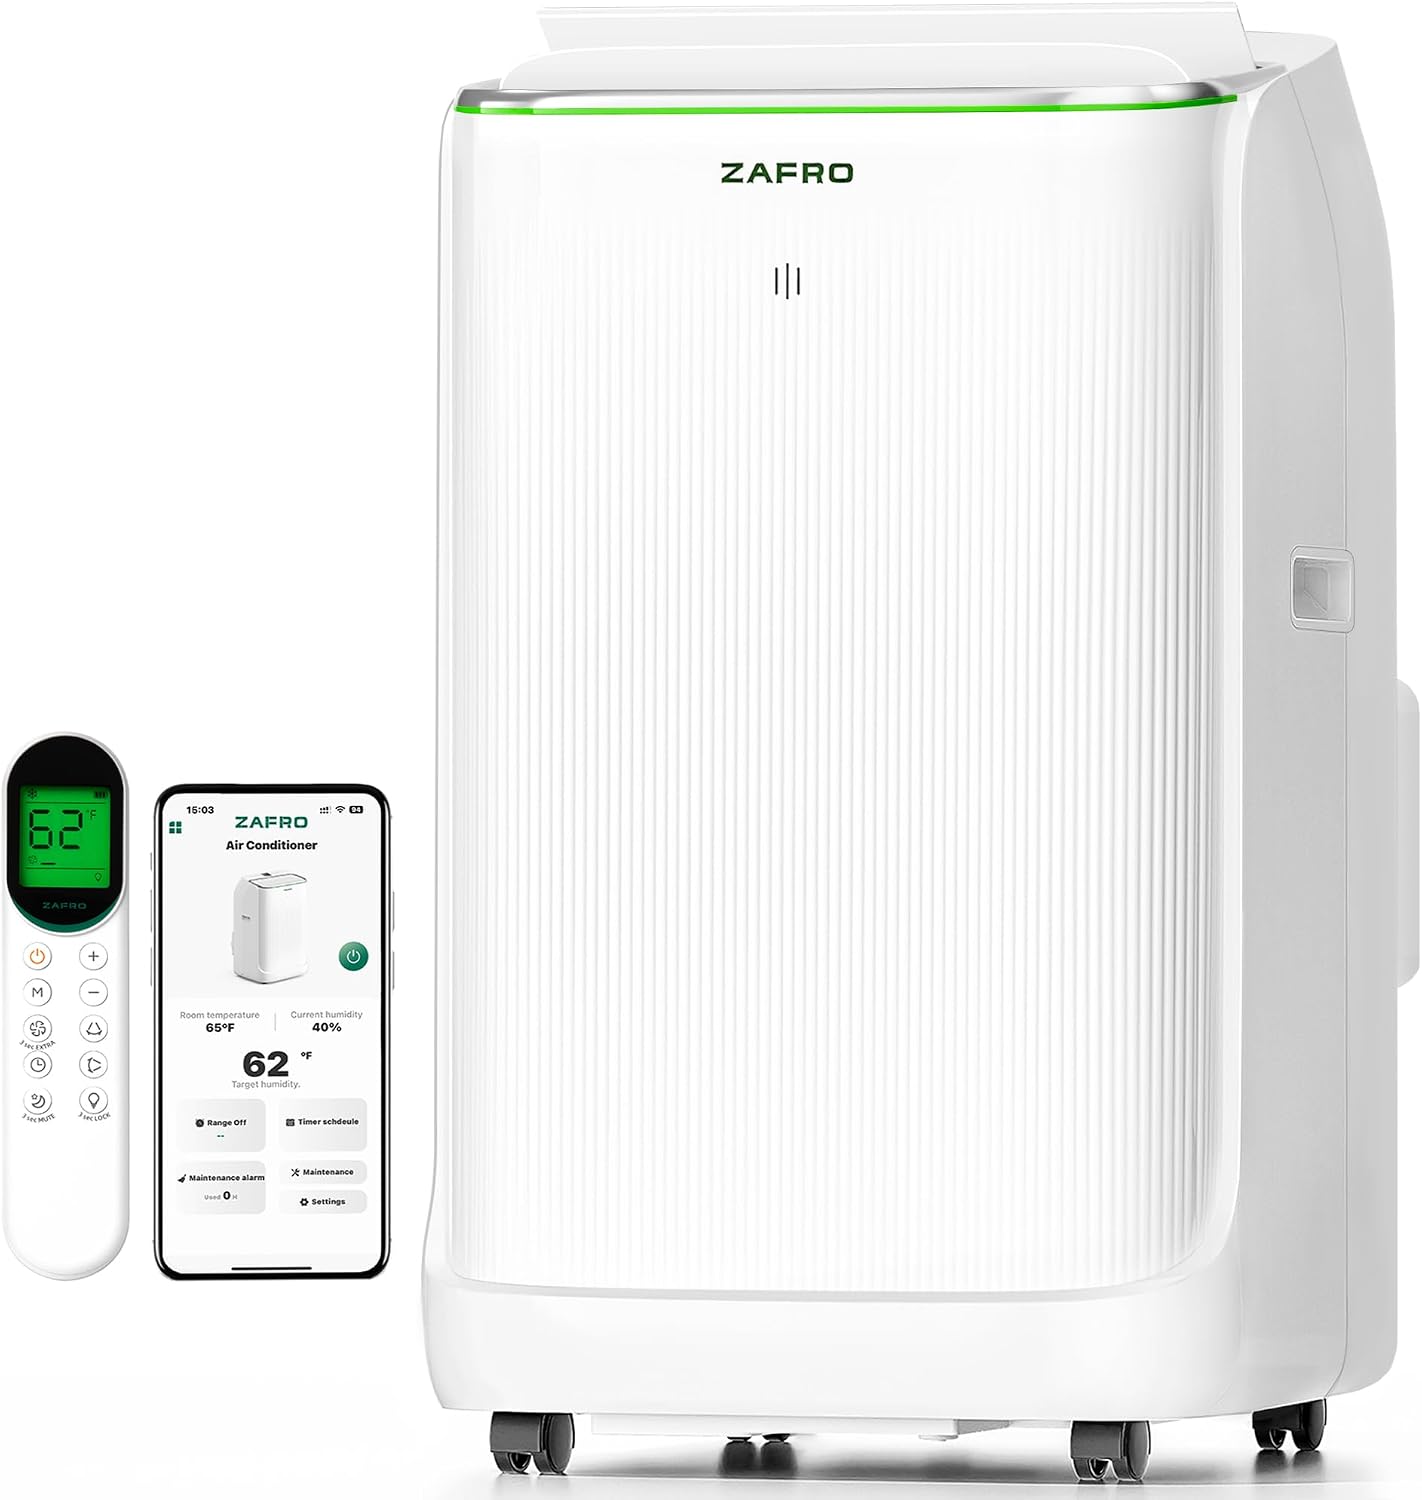
Best for a real bedroom: ZAFRO Smart Inverter Portable Air Conditioners, 14000 BTU (10000 BTU SACC)
 Visit on Amazon →
Here is what I like before I even plug it in: the name gives you the SACC number. Fourteen thousand BTU on the box, ten thousand BTU SACC in the parenthetical. That is the honest figure, and it is the one you should size your room against. Most listings make you hunt for it in the spec table or, worse, leave it out entirely.
The inverter part matters too. An inverter compressor modulates its speed instead of slamming on and off at full tilt, which is the difference between a unit that cycles loudly every eight minutes and one that settles into a steady hum. It is also the reason the watt draw stays lower over a long August afternoon. That is the technology I recommend to clients who complain about the noise first and the power bill second.
For a primary bedroom, an office you actually work in, or any room where you need the door closed and the temperature held, this is the class of machine I would start with. Pair it with a properly sealed window kit and it will do the job.
Flaws but not dealbreakers: It is a portable, so it needs the exhaust and the drain handled. If your window is a casement that swings out, budget for a custom panel before it arrives.
Anyone cooling a bedroom, a home office, or a rental room where a window unit will not fit should start here.
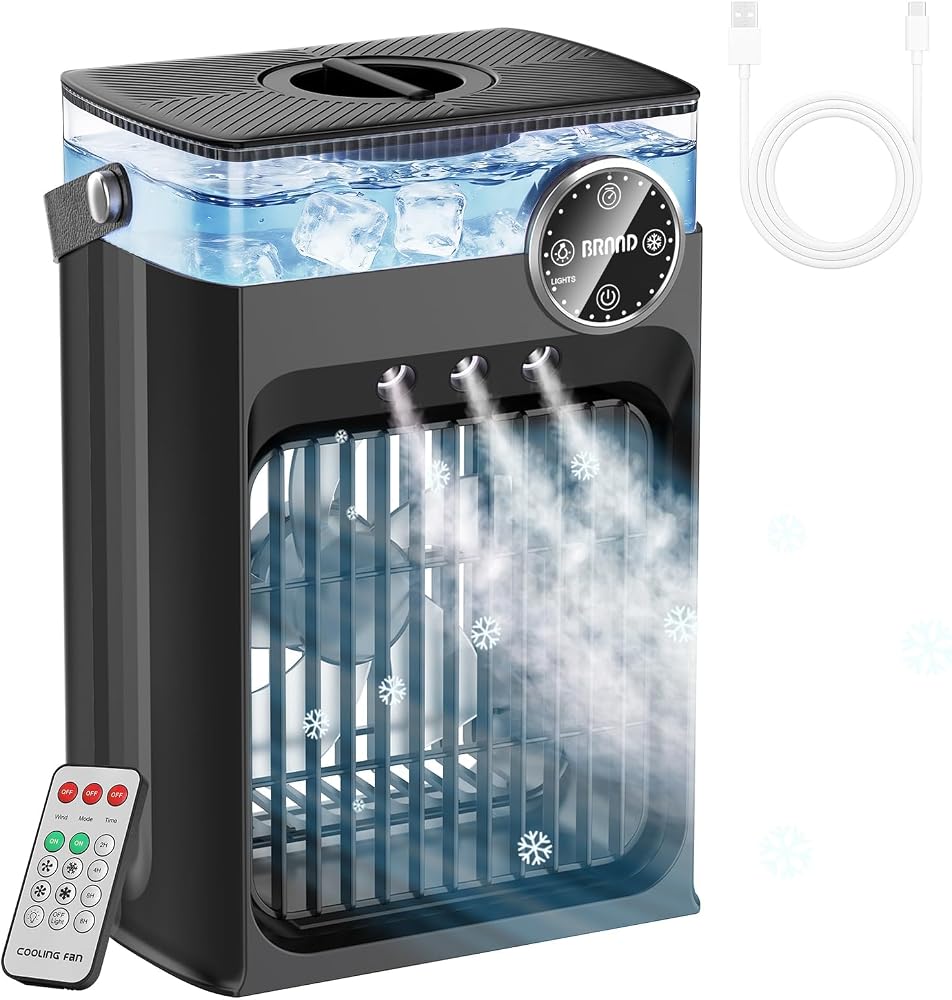
Best for a desk, a tent, or a car: 2026 New Portable Air Conditioners, 4 in 1 Evaporative Air Cooler with 1200ML Tank, 2-8H Timer, 3 Modes & 8 LED Lights, Light & Remote Control for Office, Car Camping & Travel
 Visit on Amazon →
Let me be straight with you, because this is the part of the market where labels get slippery. This is an evaporative cooler, not a compressor-driven air conditioner. There is no refrigerant, no condenser, and no exhaust hose. It cools by pulling air across a wet wick, which drops the air temperature a few degrees and adds moisture to the room. In dry heat, sitting close to it, that is genuinely pleasant. In humid air it does close to nothing, because the air is already loaded with water.
What it does have going for it is the form factor. A 1200ML tank, a 2 to 8 hour timer, three modes, eight LED lights, and a remote, and it is light enough to move from a desk to a tent to a car. The timer is the feature I care about most, because running a tank dry overnight is how these units get moldy. Set it for two hours, let it shut itself off, and clean the tank in the morning.
Flaws but not dealbreakers: It will not cool a room. It will cool you, if you are within a few feet of it. Treat it as personal comfort, not climate control, and it will not disappoint you.
Anyone who works at a desk, camps, or travels and wants moving air that is cooler than the ambient air without a compressor should look here.
The setup workflow, step by step
Step one: Pick the window. Height and width both matter. Measure the opening before you buy anything, and check whether your window slides up and down or cranks out. A crank-out casement needs a custom panel, and knowing that on day one saves a week of misery.
Step two: Assemble the kit and seal it. Fit the panel, then seal every seam with foil tape. If the kit does not reach the frame, cut foam board to fill the difference. Then tape that too. I cannot overstate this step. An unsealed window kit is the number one reason a portable underperforms.
Step three: Keep the hose short and straight. Do not coil the excess. Do not let it kink behind the curtains. Every bend is resistance, and resistance is cooling you paid for and did not get.
Step four: Insulate the exhaust hose. That hose runs hot, and it radiates that heat right back into the room it is leaving. A foam pipe wrap from the hardware store costs almost nothing and is the cheapest upgrade in this entire article.
Step five: Place the unit with clearance. Give it two feet of space at the intake and keep it off the wall. Do not tuck it into a corner behind a couch. Set it on a level surface so the condensate drains the way the manufacturer intended.
Step six: Sort out the drain before the first hot day. Run the gravity hose downhill to a drain or a pan, or confirm the pump works. Test it with a gallon of water if you are unsure. You want to learn how the drain behaves on your schedule, not the unit's.
Step seven: Dial in the settings. Cool mode, high fan, thermostat a few degrees below your target for the first hour. Skip "auto" and skip "eco" until the room is actually cool. Those modes exist to save power once the room is already comfortable, not to get it there.
Step eight: Close the door and shade the glass. A portable cooling a bedroom with the door open is a portable cooling a hallway. Pull the blinds on the sunny side, and if you can, run the unit before the room gets hot rather than after.
Step nine: Check the supply air. After 30 minutes, put your hand at the vent. It should feel distinctly colder than the room, and the room should be trending down. A healthy unit will pull a meaningful temperature drop between the air going in and the air coming out. If the vent air is barely cool, the problem is usually the setup or a room that is too large, not a dead compressor.
Mistakes that make a good unit useless
Running a single-hose unit in an open floor plan. Leaving a gap around the window panel. Coiling the exhaust hose into a neat loop. Forgetting the drain until the unit shuts off. Putting the unit in direct sun. Expecting one portable to cool a whole house. And the big one: buying by the number on the front of the box instead of the SACC rating in the specs.
What this all costs
The ZAFRO and the evaporative cooler sit at opposite ends of the category, and both listings carry their own pricing, so check current Amazon price on each before you decide. Budget another $20 to $40 for foil tape, foam board, and pipe insulation, which is the part nobody plans for and everybody needs.
The math that matters is not the sticker. It is whether the room holds temperature on the hottest afternoon of the year, and that is decided by a sealed window, a short insulated hose, a drain you planned for, and a unit sized to the space it is in. Do those four things in that order and the machine you already bought, or the one you are about to buy, will finally do what the box promised.