Most portable AC complaints I hear in Phoenix are not product failures. They are portable AC setup failures. The machine is fine. The exhaust is dumping heat back into the room it is supposed to be cooling, the drain bucket has been full since Tuesday, and the remote is on a shelf across the room instead of where anybody actually sits. Fix the setup and a mid-range unit will hold a bedroom at 72 degrees when it is 112 outside.
I have been an HVAC tech for 18 years, licensed in three states, and I have serviced everything from window units to commercial chillers. I live in Phoenix, so I know what 115 degree heat does to a portable that was never installed right. This is the order I work in, and the order I would tell you to work in.
Why you should trust me
Eighteen years in the trade and three state licenses, with a service route that has run through more rental bedrooms and converted garages than I can count. I started recommending portables to customers during a heat wave, when their central systems died and their landlords were two weeks out on a repair.
The number I trust is the SACC rating, the DOE standard that took effect in 2020 and cut the marketing BTU figures roughly in half. A unit advertised at 12,000 BTU that carries a 6,000 BTU SACC rating is a 6,000 BTU machine, and it will cool like one.
How I pick and what I check before anything gets a recommendation
Four questions, in this order. What is the SACC rating, not the number on the sticker? Single hose or dual hose? How does it handle condensate, and how often will I be emptying something? Would I sleep in the room with it running?
Everything else is secondary. Fan speeds count, a remote counts, a dehumidifier mode counts in monsoon season, but none of it matters if the unit cannot move heat out of the room or if you are draining a bucket four times a day.
The two units worth setting up right
Both of these are worth the setup work below. One fits a tighter budget, one is the honest-label pick for a slightly bigger room.
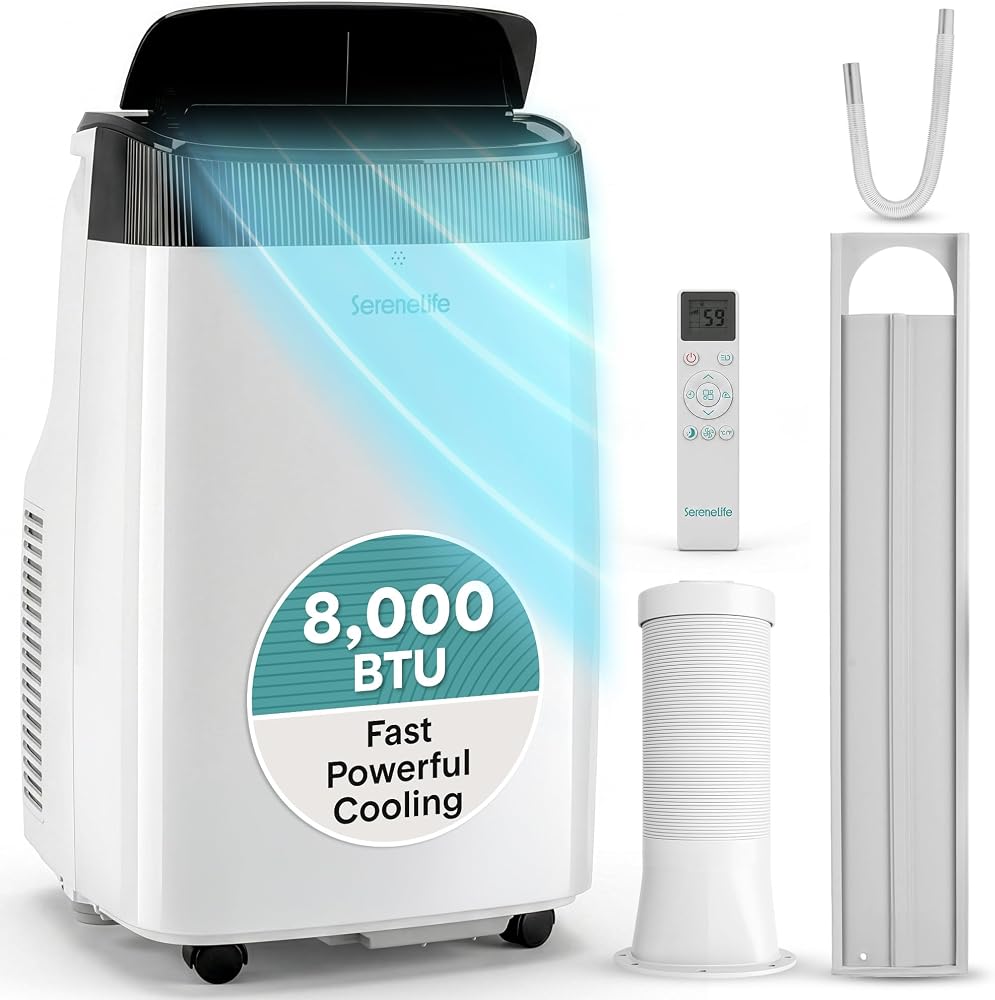
Budget pick: SereneLife Portable Air Conditioner, 8,000 BTU, Dual Motor
 Visit on Amazon →
Check current Amazon price. This is the one I would hand to somebody cooling a bedroom or a home office on a budget. It carries an 8,000 BTU rating with a dual motor design, three fan speeds, a thermostat range of 64 to 90 degrees, plus dehumidifier and fan-only modes. The window exhaust kit is included, and that kit is the part most people install wrong.
The low end of that thermostat range matters more than it sounds. Being able to ask for 64 degrees means the compressor keeps working toward a real target instead of shutting off early and letting the room drift. The three fan speeds give you a high setting for the first hour and a quiet setting for sleeping, which is how these should be run.
Flaws but not dealbreakers: An 8,000 BTU unit is a one-room machine, so do not expect it to cool an open floor plan. The window kit also needs help. Foam weatherstrip and a piece of rigid foam board will do more for this unit than any setting on the remote.
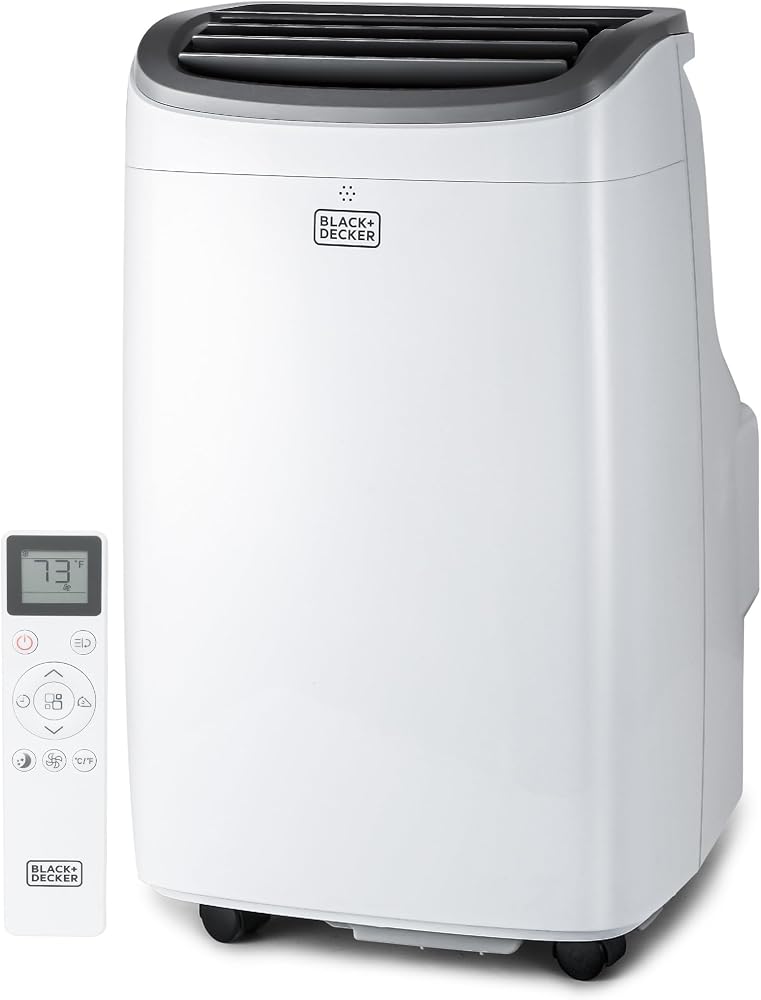
Our pick: BLACK+DECKER Portable Air Conditioner, 10,000 BTU, 5,500 BTU SACC
 Visit on Amazon →
Check current Amazon price. This one tells the truth on the label. It is listed at 10,000 BTU with a 5,500 BTU SACC rating and a claim of rooms up to 450 square feet. Read those three numbers together and you know what you are buying: a strong small-bedroom unit, not a whole-floor solution. My rule of thumb is to halve any manufacturer square footage claim for a room with a west-facing window.
It is a 3-in-1 design, so cooling, fan, and dehumidifier modes live in one cabinet, and it ships with a Follow Me remote. That feature is the interesting part. The remote carries the thermostat, so the unit reads the temperature where the remote is sitting rather than at the intake grille near the floor. Put it on the nightstand or the arm of the couch and the compressor works toward the temperature in the part of the room you actually occupy.
Flaws but not dealbreakers: Remote thermostats generally want a clear path back to the unit, so a remote buried behind a cushion will give you inconsistent behavior. And in Phoenix in August, 5,500 BTU SACC is a bedroom number. Keep the door shut.
The setup workflow, step by step
Step one: Pick the room and be honest about the size. A portable is a one-room machine. Close the doors, close the blinds on the west-facing window, and stop expecting it to cool a hallway.
Step two: Choose the window and check the exhaust path. You want the shortest possible run from the unit to the window. The hose is the weak point of every portable, and every extra foot and every bend costs you cooling.
Step three: Seal the window kit like you mean it. This is where most installs fail. The kit panel rarely fills the frame exactly, and the gaps are open doors for 110 degree air. Cut rigid foam board to fill the leftover space, tape the seams, and weatherstrip where the panel meets the frame and where the hose collar meets the panel. A few dollars of material here beats any upgrade on the unit itself.
Step four: Keep the hose short, straight, and slightly downhill. Do not coil it, do not let it sag into a U, and do not let it run uphill. Condensate collects in a low loop and eventually blocks airflow or leaks on your floor. Route it up and over rather than down and around.
Step five: Give the unit clearance. Six to twelve inches on all sides, and keep curtains and bedding away from the intake. A portable breathing into a curtain is recirculating its own hot air.
Step six: Plan the drain before you run it. Decide now whether you are draining by gravity to a floor drain, running a hose to a bucket, or emptying a tank by hand. Waiting for the tank full light at 2 a.m. is how people end up hating a good machine.
Step seven: Pull the room down on high, then hold. The first hour is the hard part. Close the door, run the fan on high, and let the compressor work. Once the room is at temperature, drop to the lower fan speed and sleep on that.
Step eight: Set the thermostat where you want the room. With a remote thermostat, the remote position is the setpoint position. With a unit that reads at the intake, set it a couple of degrees lower than your target, because the intake is measuring air near the floor and near the machine's own heat.
Hose configuration: the part that decides whether it works
A single-hose portable pulls air from the room, runs it across the condenser, and blows it out the window. That sounds fine until you realize it is also pulling hot outside air back into the room through every gap in the house to replace what it threw away. The room goes slightly negative and the machine spends part of its capacity fighting air it invited in. Dual-hose designs pull outside air for the condenser and send it right back out, which is the only configuration that does not fight itself.
You cannot convert a single-hose unit, but you can reduce the damage. Seal the window panel, seal the door to the room, and keep the hose run short. And if you are shopping and see a single-hose unit advertised above 10,000 BTU for a large room, walk away. That machine is fighting itself and you are paying the electric bill.
Drain and condensate: the part nobody plans for
The water a portable pulls out of the air has to go somewhere. Most units give you a tank to empty by hand, a gravity drain port for a hose, or continuous drain with a pump. In a dry climate you can get away with the tank for a while. In monsoon season a tank can fill in a few hours.
My rule is simple. If you are emptying a bucket more than once a day, you bought a job instead of an appliance. Run a gravity hose to a floor drain or sink if you have the drop for it, or add a small condensate pump if you do not. Check the drain port design before you buy, because some are far easier to plumb than others.
Noise: the sleep test
Noise is a spec, not a preference. A bedroom unit that sounds like a jet engine is a failed product no matter how cold it gets. The compressor is the loud part and it is the part you cannot fix.
What you can do: put the unit on a rubber mat to kill vibration through the floor, keep it off a shared wall with a neighbor's bedroom, and pre-cool on high in the evening so the unit can drop to low fan while you sleep. Fan noise drops with fan speed. Compressor noise does not. Run it one night before you decide you love it.
What this all costs
The unit is the smallest part of the budget. The window seal is the rest. Foam board, weatherstrip tape, and a short drain hose cost less than a decent dinner, and they are the difference between a portable that holds a bedroom at 72 and one that runs all night without getting there. Electricity is the ongoing cost, which is why I tell people to cool one room instead of trying to cool a house with a portable. Every gap you seal is money you do not spend on the compressor.
What this article is not
This is not a pitch for portables over everything else. For a room under 300 square feet, a window unit beats any portable on efficiency, noise, and price, and if you can install one, install one. Portables exist for the rooms where a window unit cannot go: a sliding door, a casement window, a rental where you cannot cut a hole, or a room where the only window faces a shared courtyard. In those cases, a portable set up correctly is a genuinely good answer. A portable set up carelessly is a fan with a hose.
The bottom line
Pick the SACC number over the sticker, seal the window like your comfort depends on it, keep the hose short and draining downhill, and deal with condensate before it deals with you. Do those four things and either of the units above will cool the room it was built for, in the worst heat your city has to offer.
That is the job. Set it up right, and let it work.